Many of the problems in Fontainebleau are very powerful but also very subtle. The holds tend to be very slopey, not too many crimpers, not too many edges. It’s very subtle the way you take the hand holds. You have to set your body in the right way so you’re not so much technically working out where the holds are and what to do on them but you’re more working out where to place your body and at which angle to hold the holds so that everything will work together and when you get all that subtlety and the power at the right time it’s very special. – Jerry Moffat
Equipment
|
Essential equipment:
|
Optional equipment:
|
How to get the best out of your equipment and the rock
1. Check the weather
The boulders in Fontainebleau are made of fragile sandstone; it’s ‘construction’ is like an egg, with a hard, outer shell and a soft inside. The sandstone is like a sponge in the rain, absorbing a lot of water. This means the rock needs time to dry before climbing on it.
Climbing on the blocs when they are damp can cause them to simply explode. Why does this happen? Water does not compress, so when we put pressure on a water saturated hold, whether it is hand or foot hold, the water cannot go anywhere and hence the hold/rock simply explodes/gives way.
Check what the weather has been like prior to your arrival. Ensure the blocs have had sufficient time and wind to fully dry before climbing on them.
Never try to dry holds with any kind of flame or heating device, be patient and wait for better conditions.
2. Prepare the problem
Lightly and carefully brush holds using a natural bristle brush (not a plastic or wire bristle brush) to remove any chalk.
Use a towel to remove any dust or debris from the holds and the rest of the problem to prevent you picking it up on your shoes.
Do not put chalk directly onto foot or hand holds. Clean sandstone has more grip.
Study your landing zone, place any crashpads carefully. Avoid overlapping pads and when multiple pads are used, cover any joins to prevent the climber landing between them.
To minimise risk of injury should you fall, note where any hidden tree roots or stones are. Broken ankles are an unfortunately common injury.
3. Clean your starting zone
If you start climbing from a crashpad, keep the pad clean and free from sand and dirt. It is common to see people clean their shoes and then walk onto a crashpad that is covered in sand which defeats the object of cleaning your shoes in the first place.
Use your doormat or towel as your ‘clean’ starting point.
Clean your crashpad before every attempt at a problem – your spotter may have left it dirty.
4. Clean your shoes
The main cause of polished rock is dirty climbing shoes:
Help us fight the polishing of holds: make sure you clean your rock shoes thoroughly, on a proper door mat. – Jo Montchaussé, ‘Fontainebeau Climbs’.
A “proper door mat” is a coconut hair door mat, and not just some piece of carpet or your crashpad. The depth of the coconut hairs allow the sand and dirt to fall below the level of the soles of your shoes, hence keeping your rubber soles clean. A piece of carpet or nylon mat’s bristles are not deep enough to do this; your feet will still be dirty after ‘cleaning’ them on this type of mat.
The repeated passage of sandy climbing shoes over the rock has the same effect as sandpaper, and is slowly but surely polishing and irreversibly eroding holds. Not cleaning the soles of your shoes before climbing is causing the silent destruction of the boulders.
Keep your climbing shoes spotlessly clean – this minimises damage to the rock and helps you get the best out of your rubber.
Rubbing the soles of your shoes using a little spit until they squeak improves the grip of the rubber more than anything else. The soles of your shoes should be black not grey.
5. Chalk
The best grip comes from dry skin on clean rock.
Use chalk sparingly to dry your skin. Carrying excess chalk on your hands does not increase friction, it simply gets left behind on the rock.
Never chalk the soles of your shoes. It does not help in any way.
If you wear a chalkbag whilst climbing, close and move it to your front before down climbing to prevent it spilling over the rock.
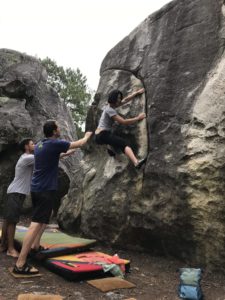
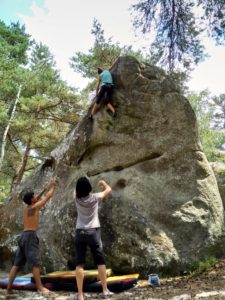
6. Spotting
You as the climber are key to your own safety. Create a flat landing zone to aim for. Anticipate your trajectory should you fall. Aim to land on your feet and use your legs to absorb the energy of the fall.
The aim of spotting is not to catch the climber but to absorb some of their momentum and guide them safely onto the pads.
Keep your hands as close as possible to the climber’s body and centre of gravity. This reduces the energy generated by the fall.
Keep your arms and legs bent to act as shock absorbers. Think of your thumbs, keep your fingers and thumbs together to avoid injury.
Be vigilant and anticipate the moves the climber might make.
Expect the unexpected.
7. Leave no trace
Lightly and carefully brush holds to remove any signs of chalk you may have left on the rock, including any tick marks.
Don’t leave any rubbish. Nothing! This includes finger tape, plasters, banana skins, food wrappers, old pieces of carpet, etc.
If you see rubbish left by others, please make an effort to take it home and dispose of it responsibly. It will make you feel warm and fuzzy inside!
Go to the toilet before arriving in the forest. If you have to poo, do so discretely, away from climbing blocs and often visited areas. Make a small hole and cover your poo with some leaves, twigs or sand.
Take any toilet paper you may have used home in a plastic bag and dispose of it responsibly.
Leave the boulders and the forest as you would like to find them.
In case of accident
Sapeurs-pompiers: dial 18.
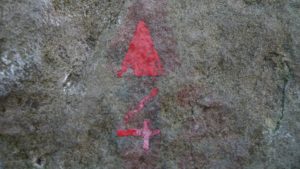
Be as precise as possible about any injuries and your location (name of area, nearest path, forestry lot number [small black signs on some of the trees], GPS coordinates)
SAMU (medical emergencies): dial 15
Emergency number from a mobile phone: dial 112
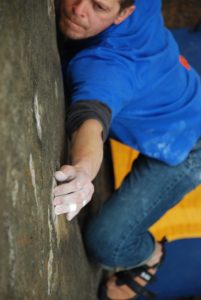
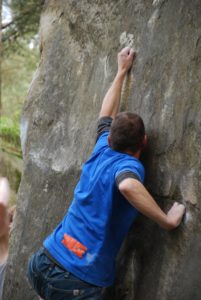
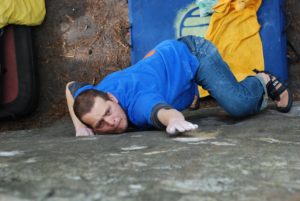
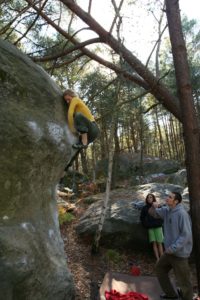
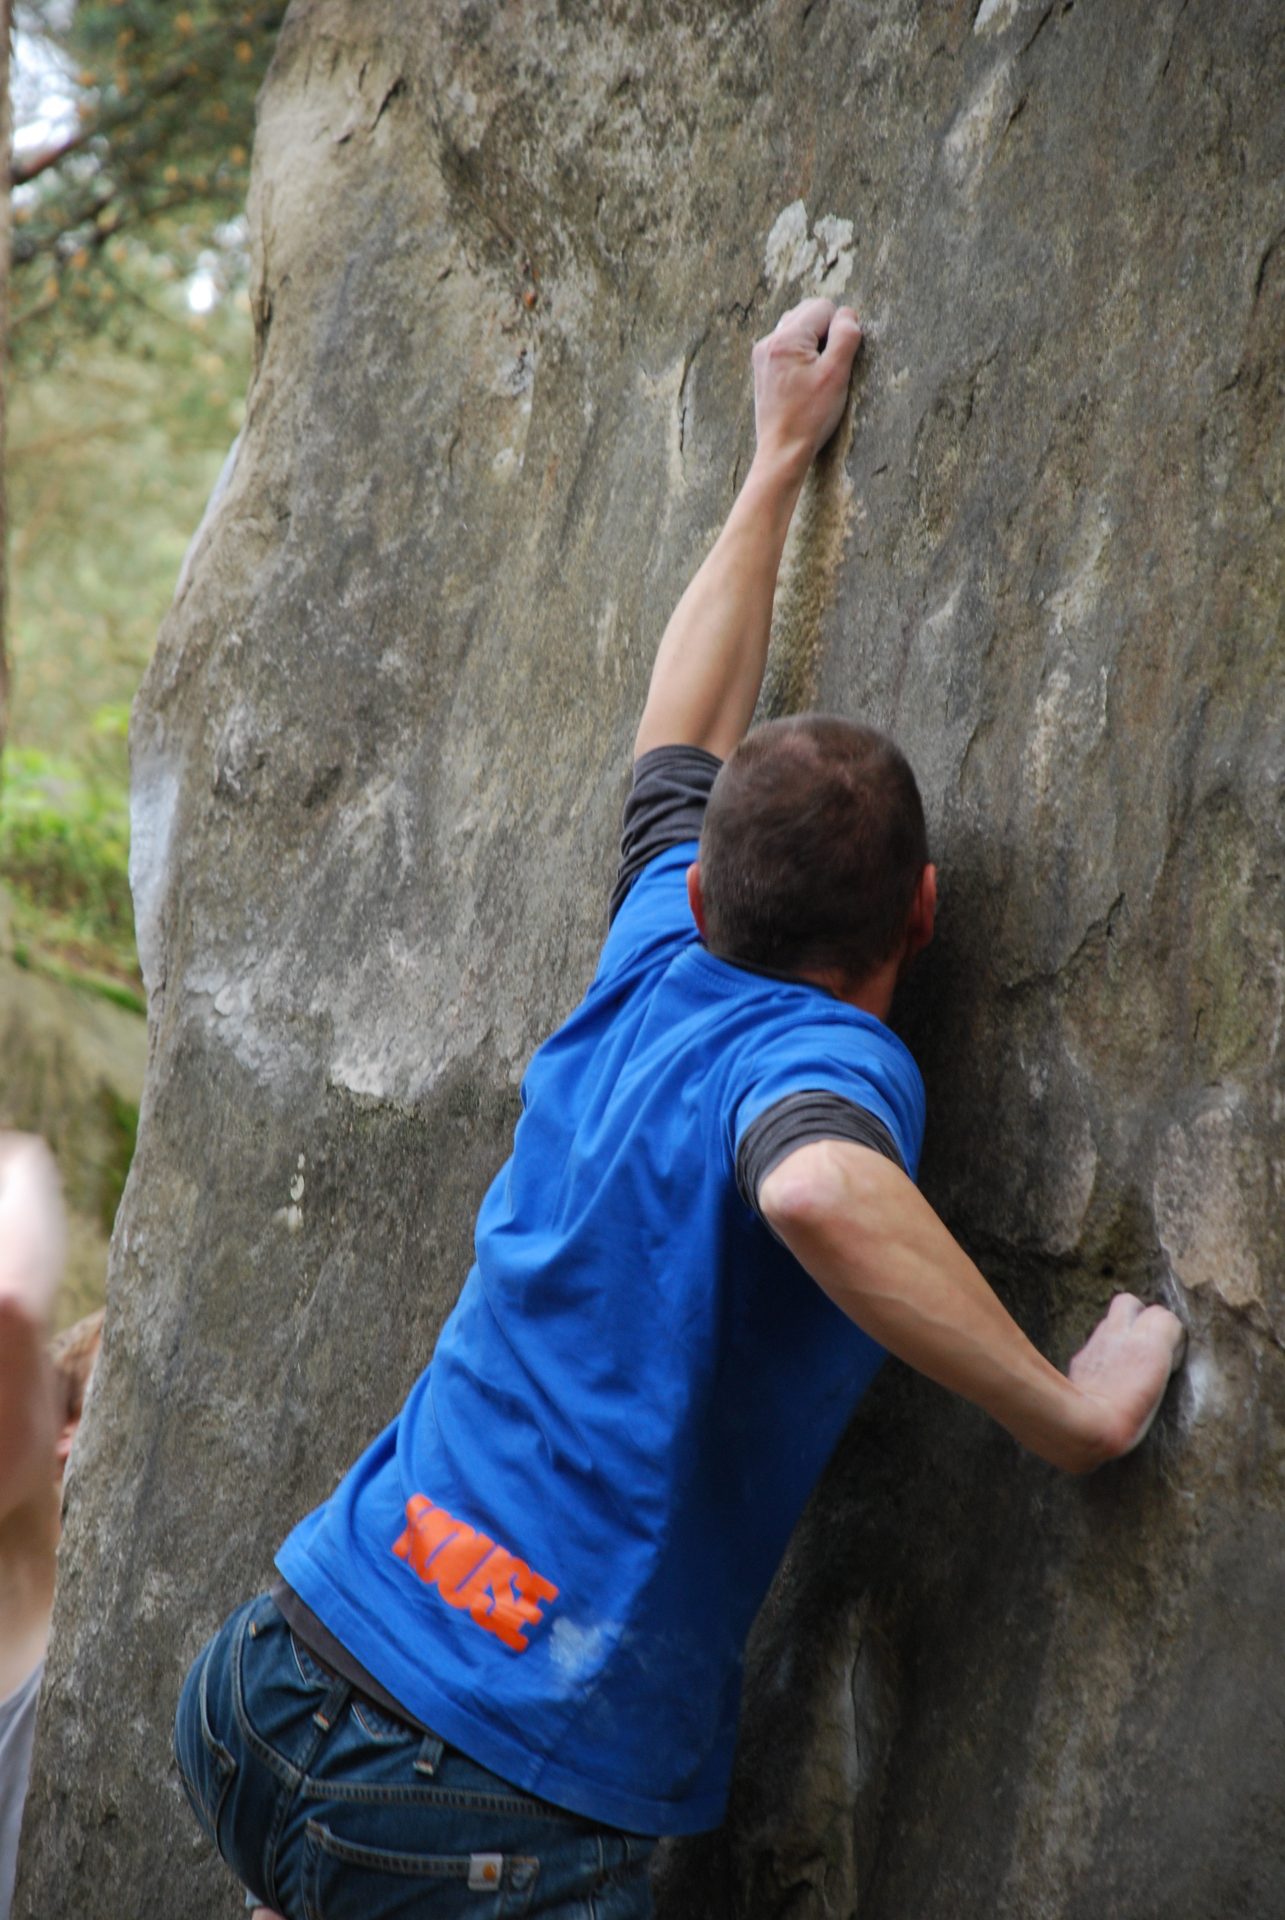
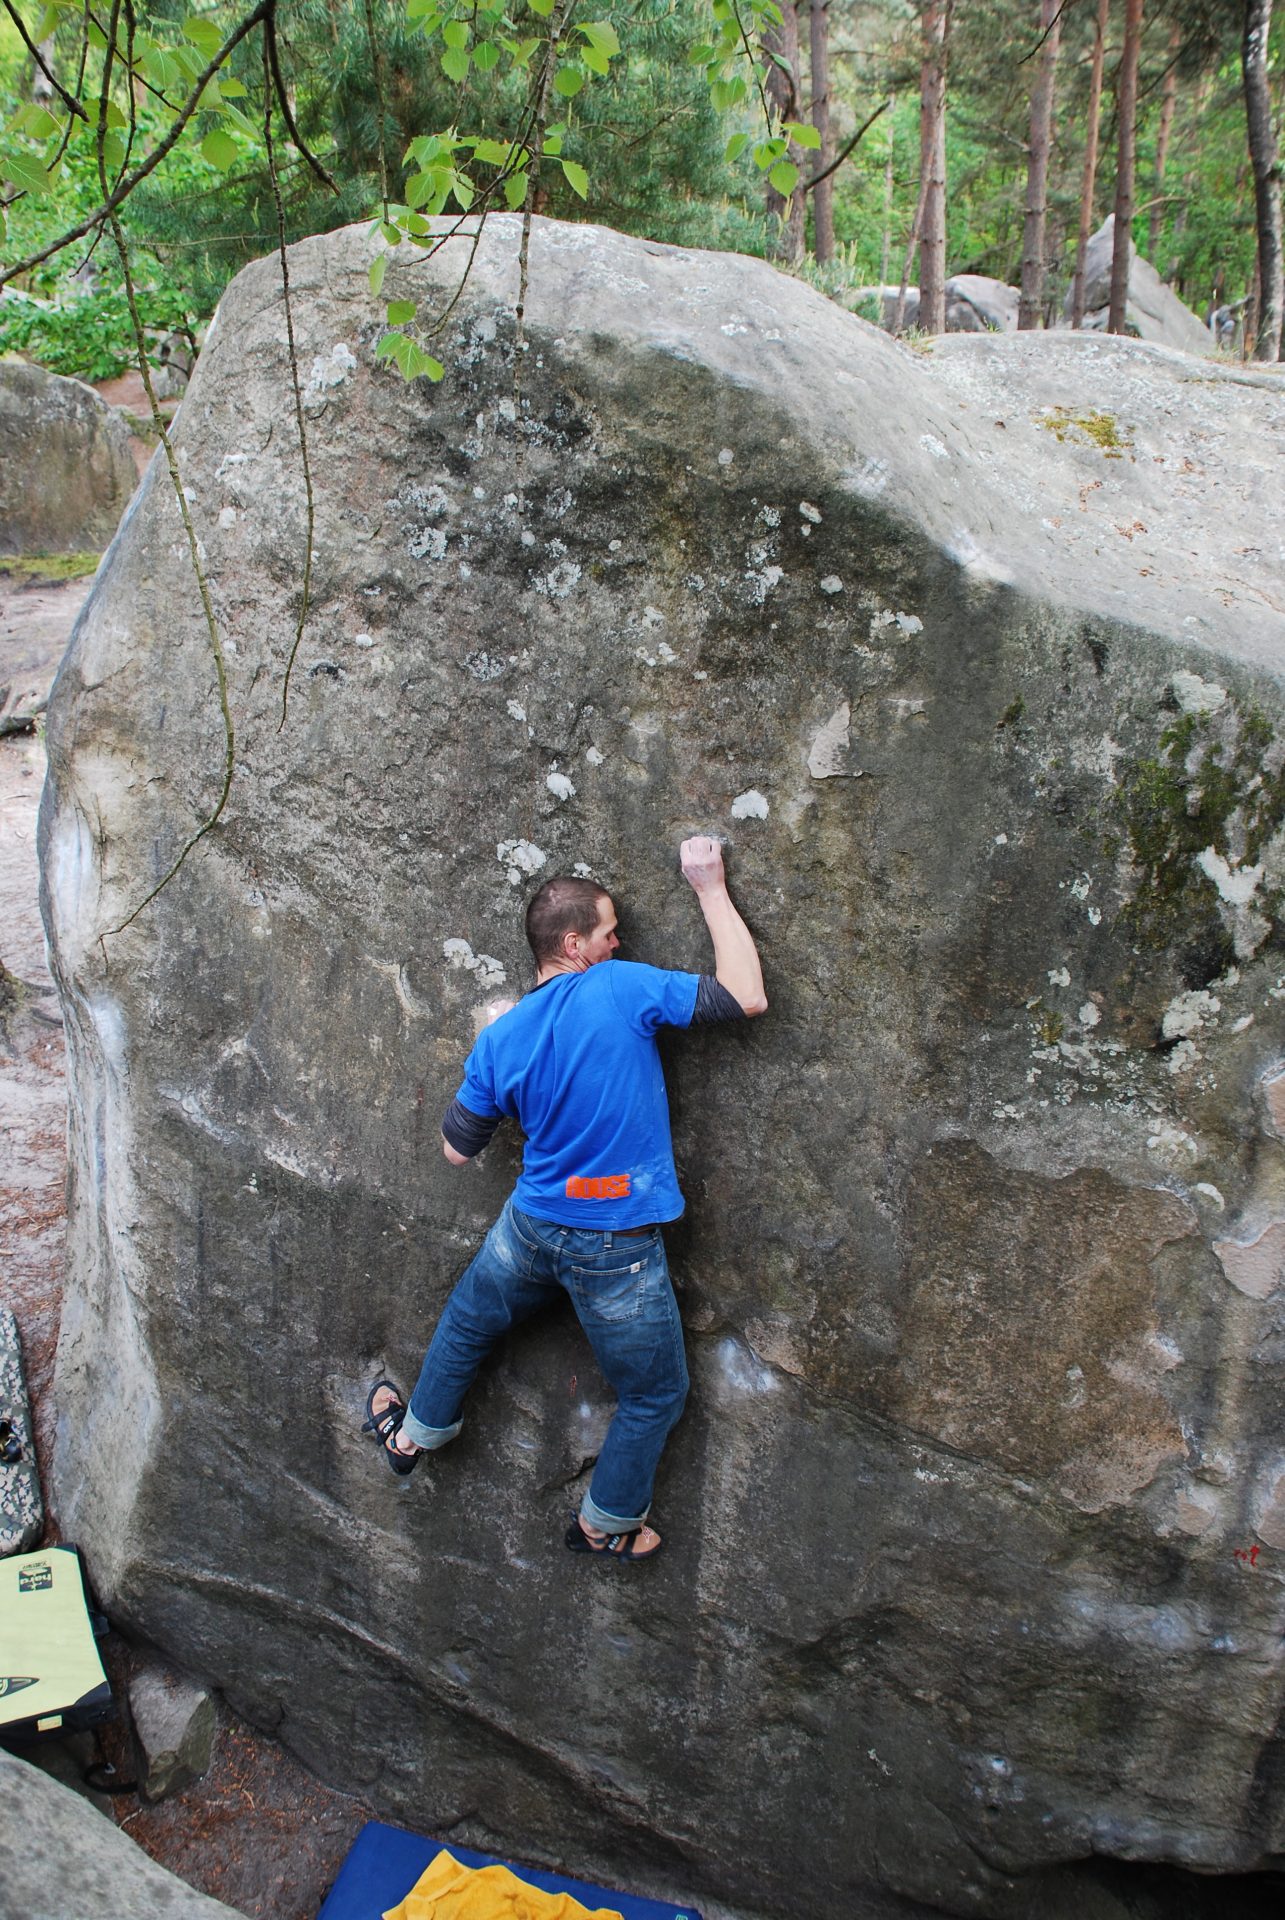
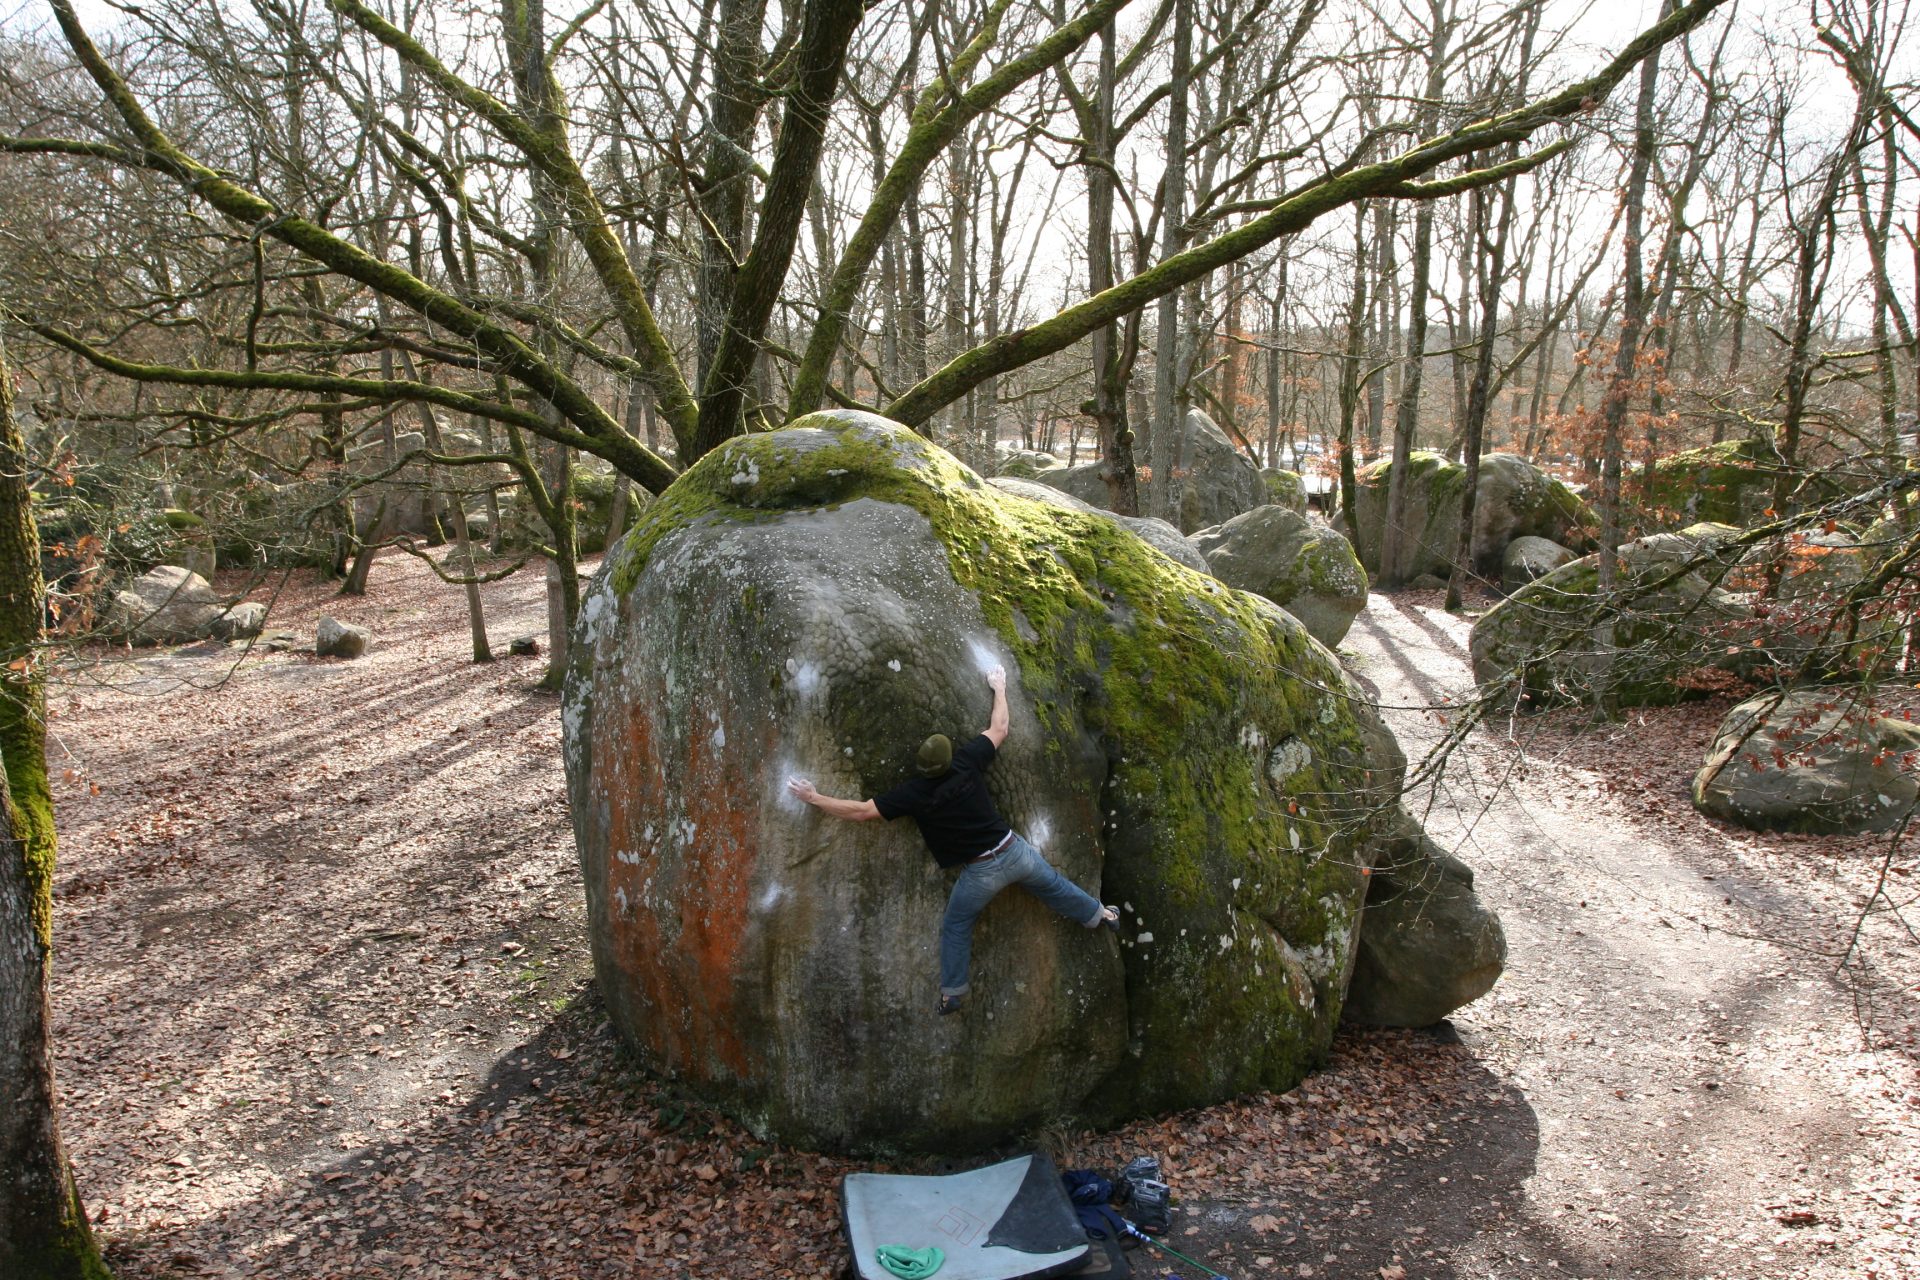
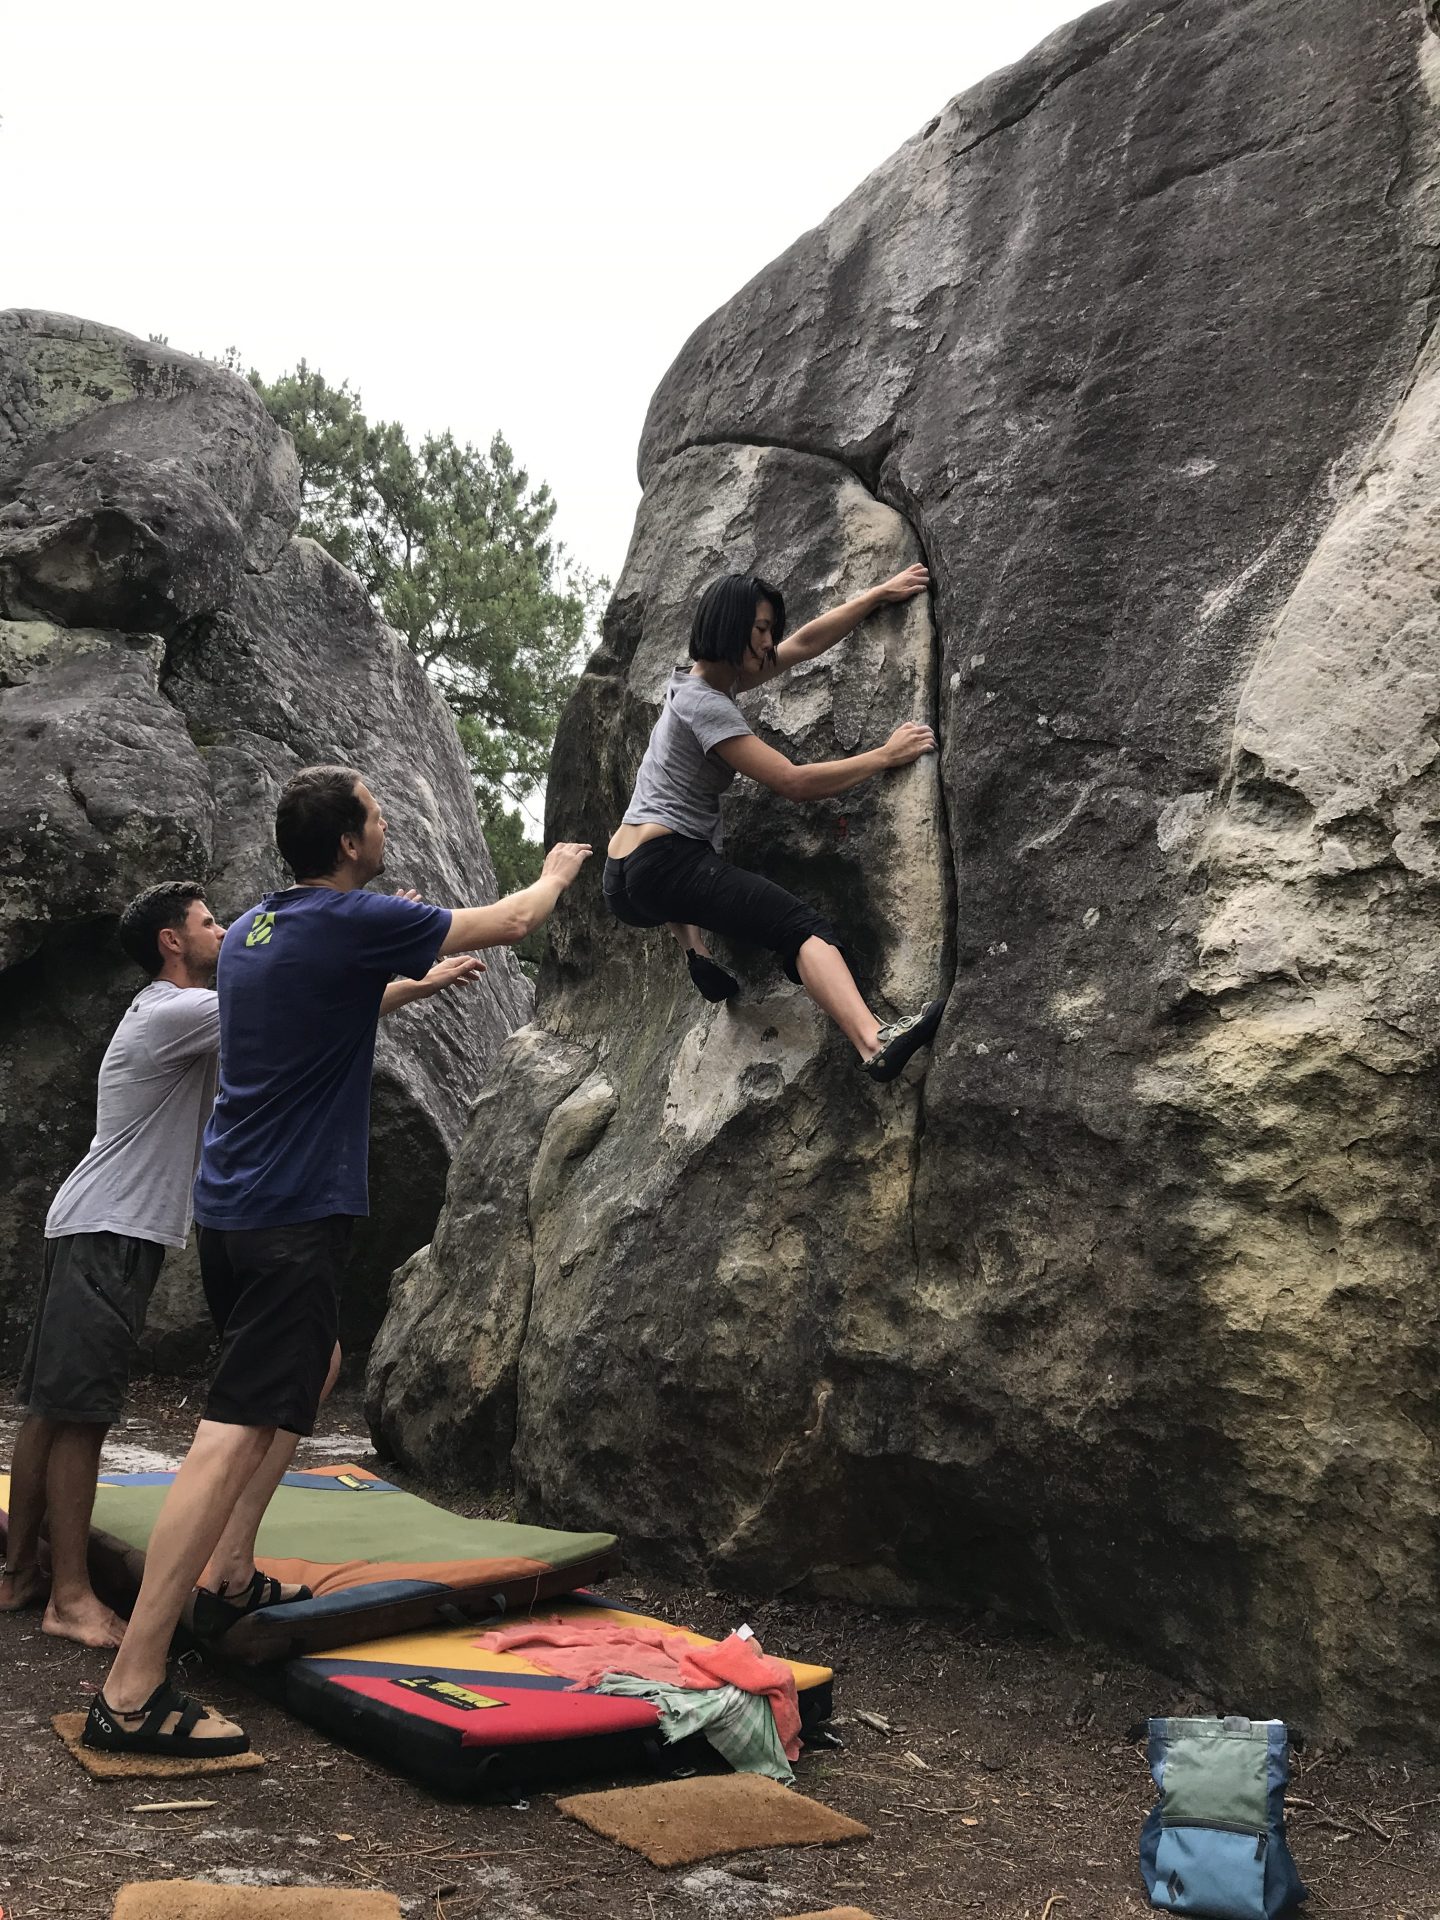
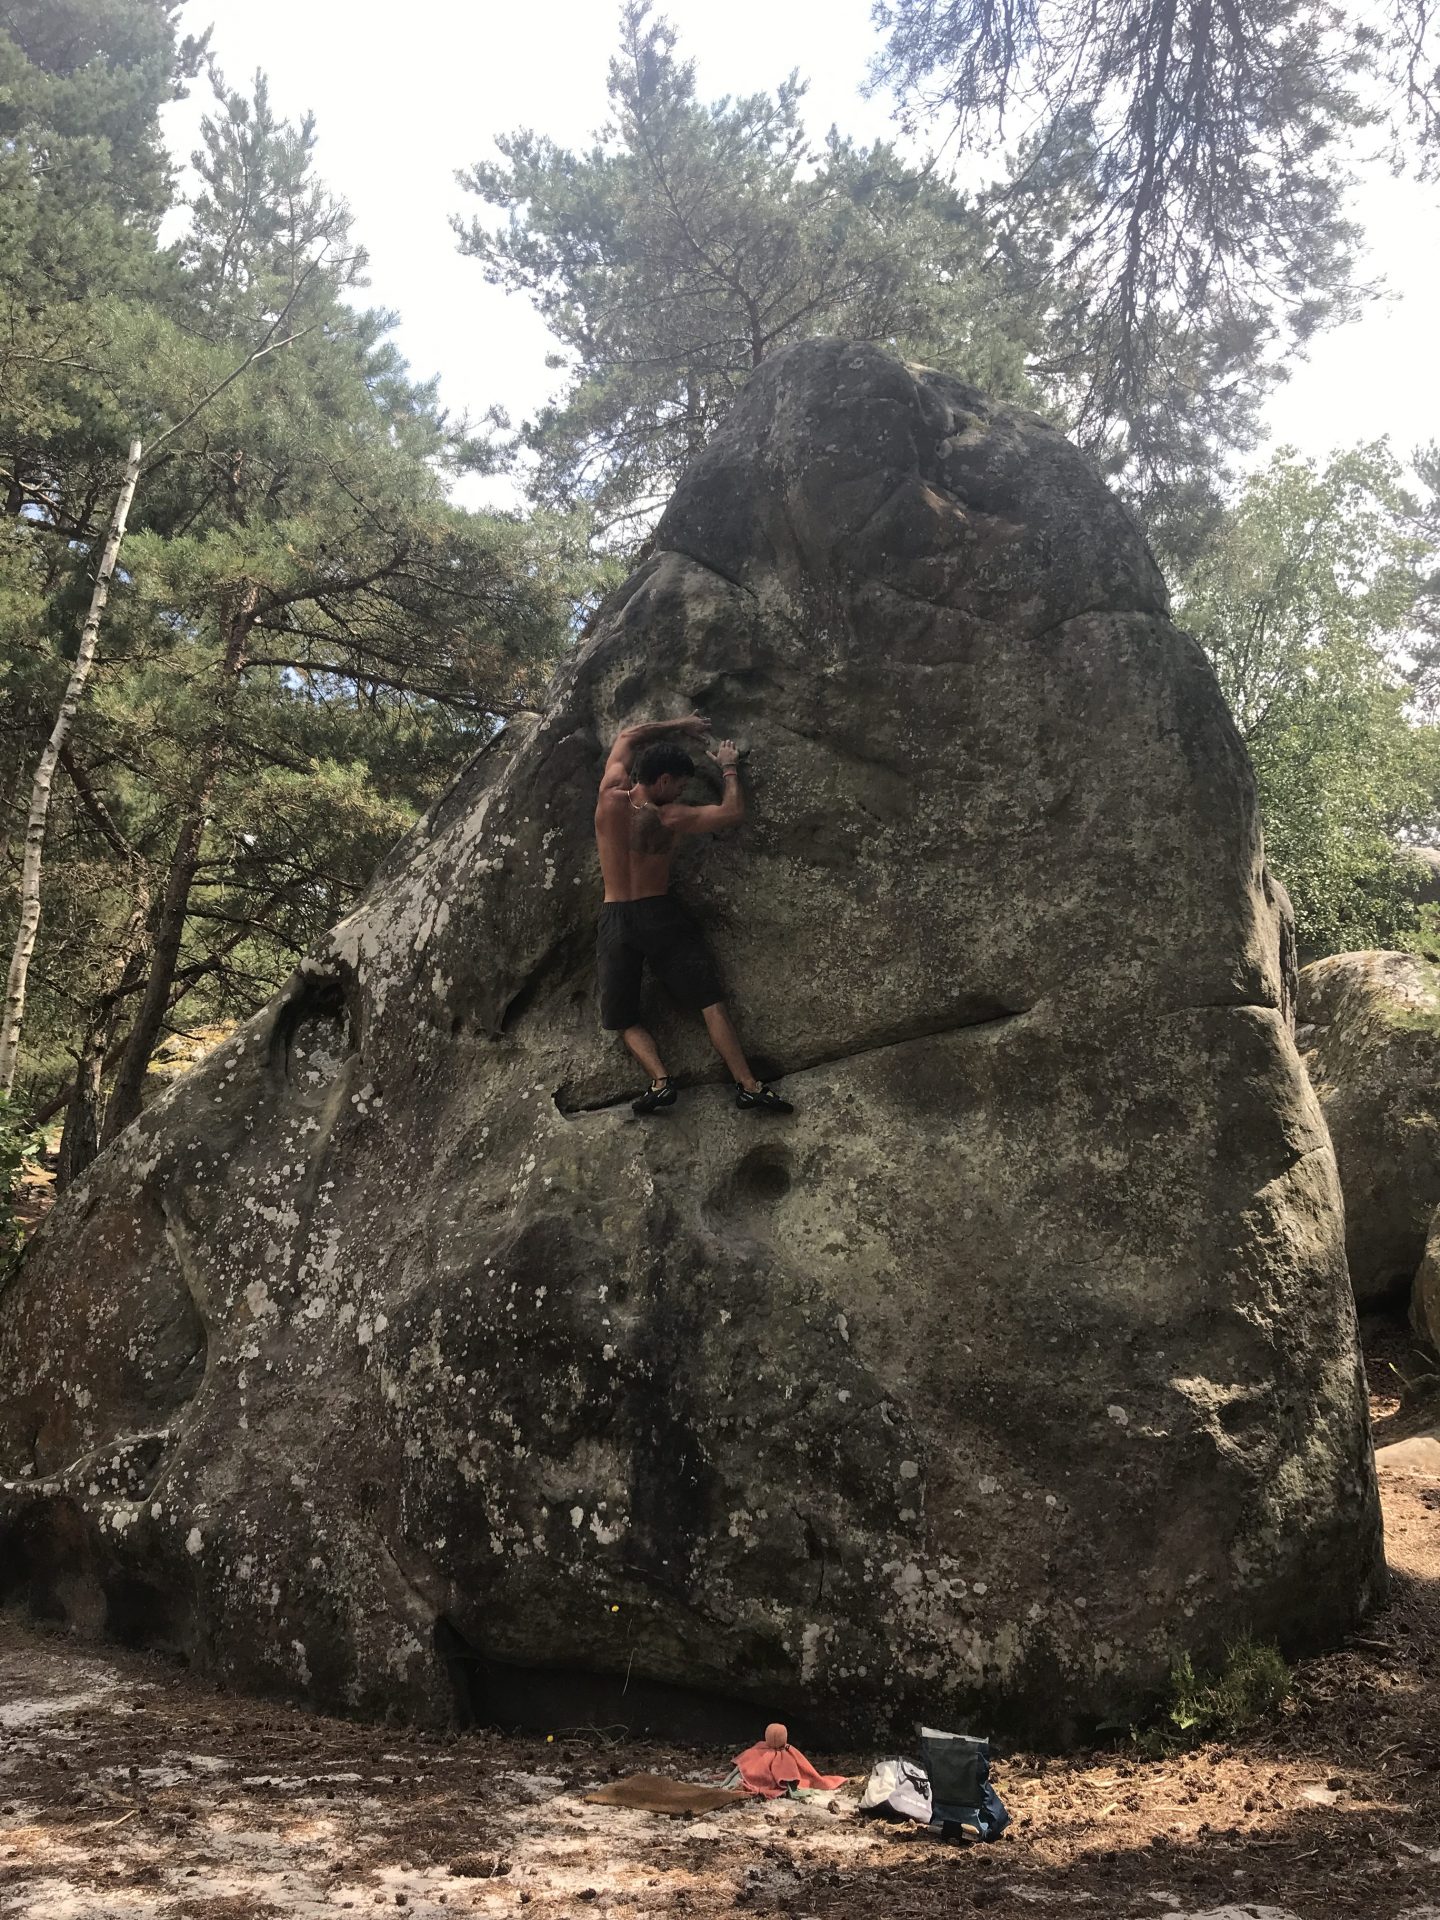
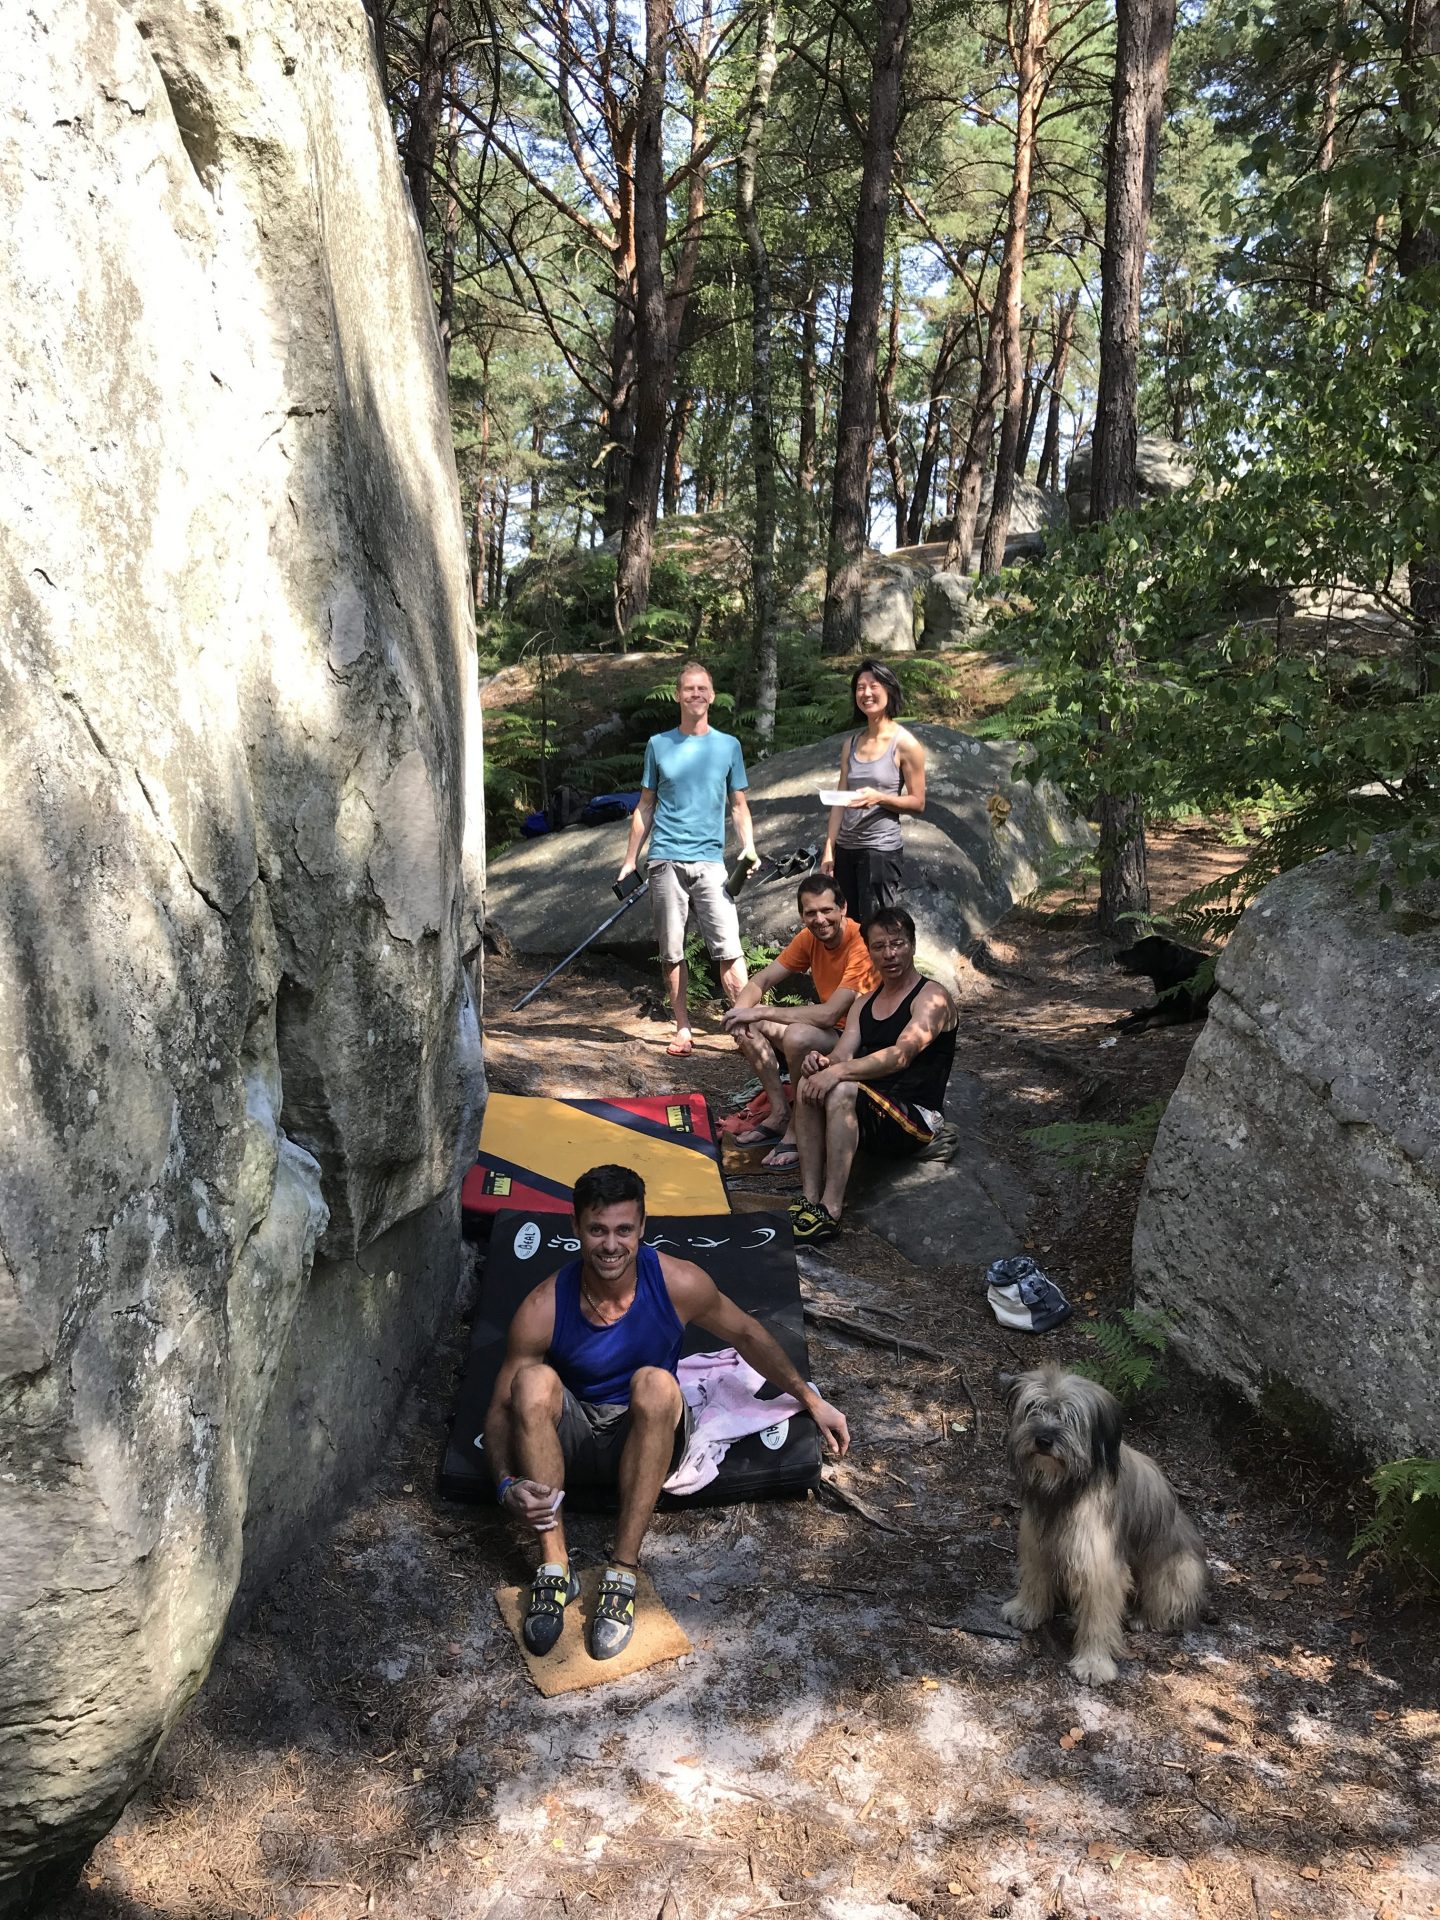
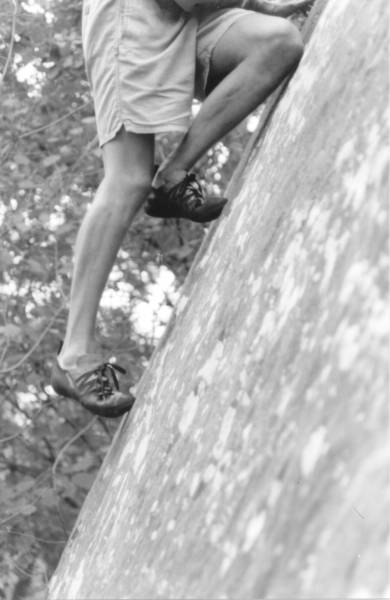
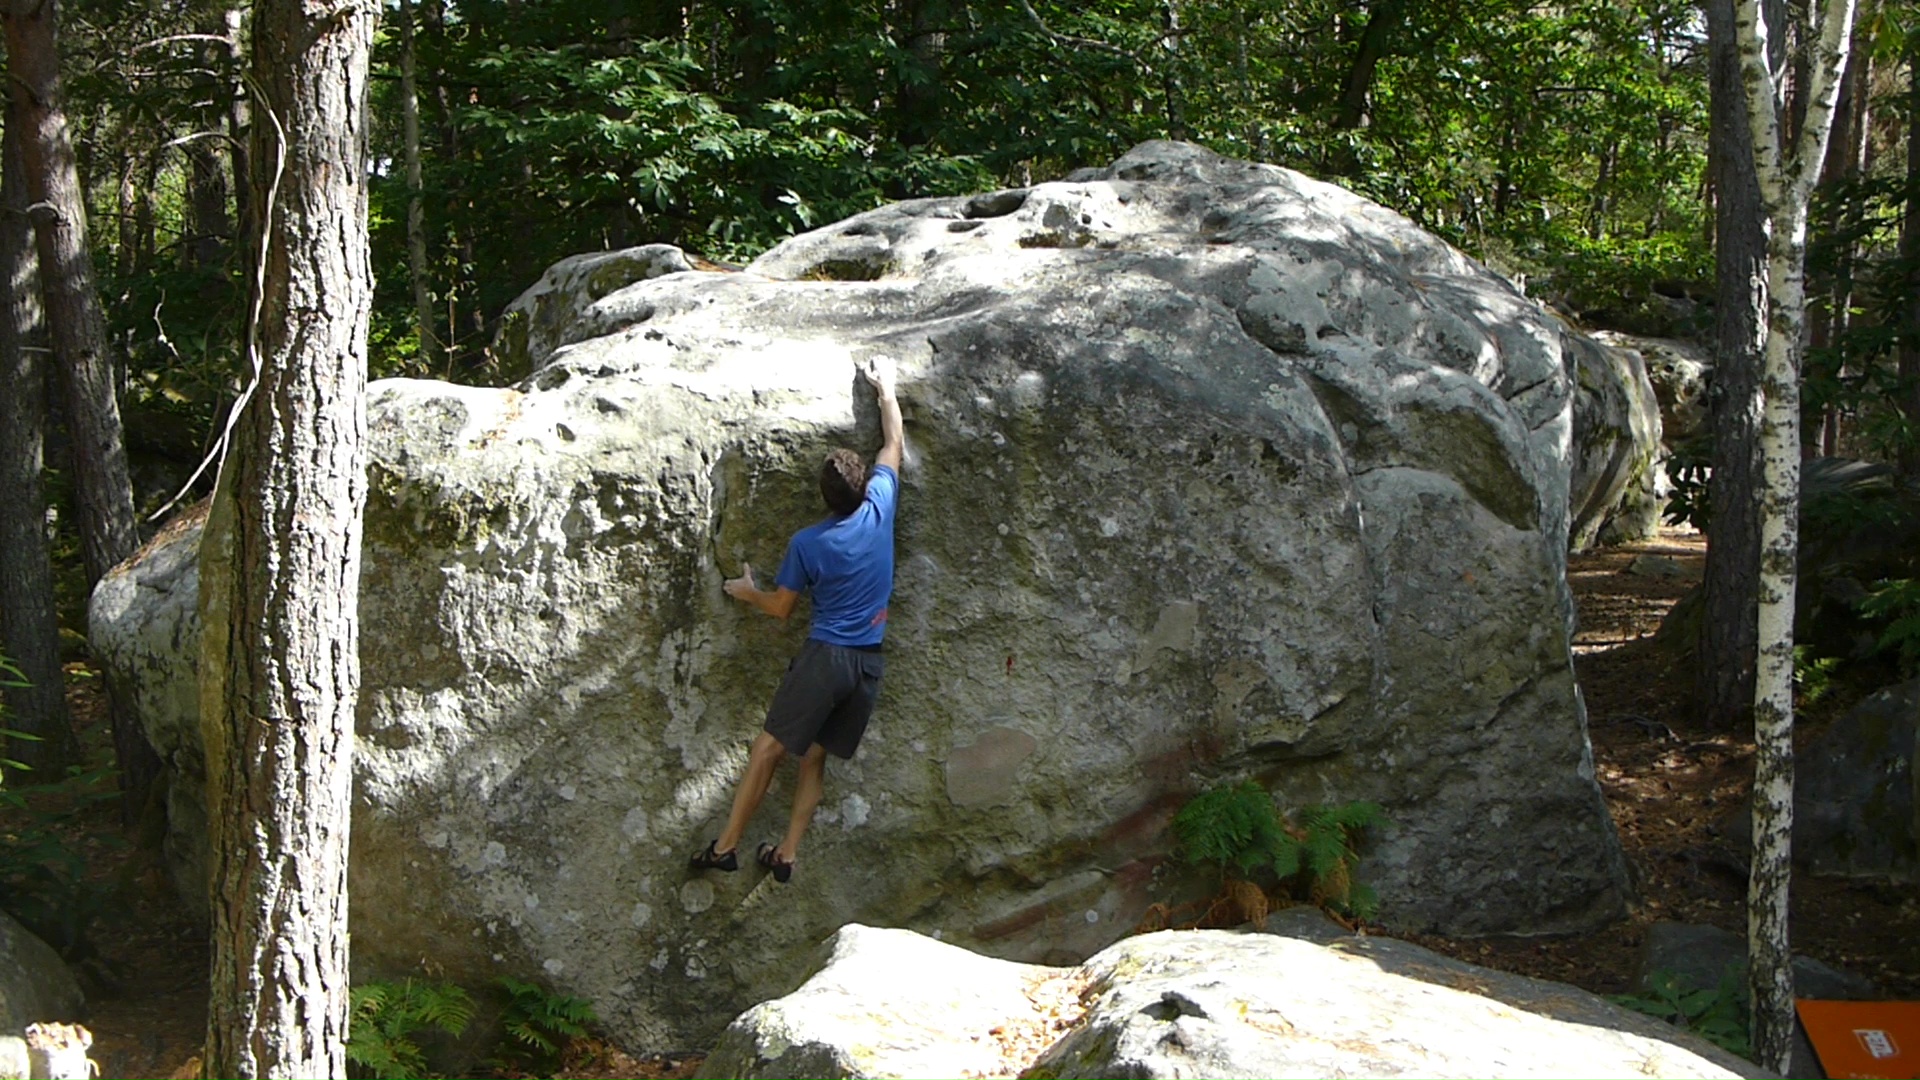
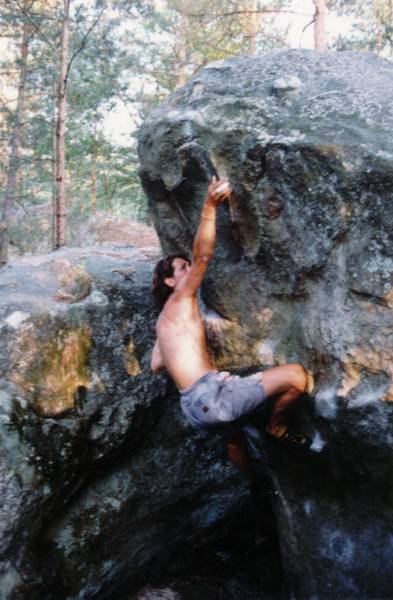
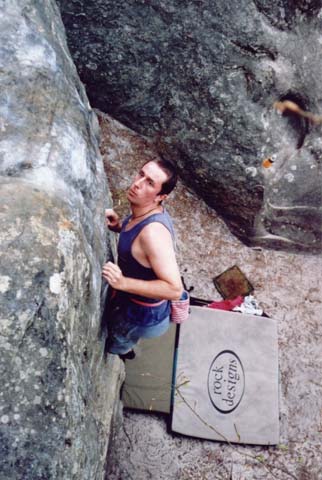
Gallery